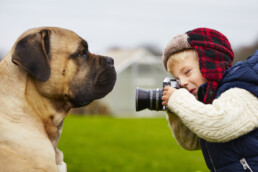
How to take professional-looking pet portraits
We all like to photograph our pets and taking professional-looking portraits does not need to be as complicated as we think. Although it does take time and patience, it does not necessarily need a lot of expensive equipment.
Over the next few weeks, I'll be posting a series of lessons on how to photograph pets. Each one will look at a different aspect of pet photography. Here's an idea of what's to come:
Part 1: Photographic Equipment - selecting a camera; using auto and manual focus; lighting and accessories.
Part 2: Animal Behaviour - understanding animal behaviour; personal space/fear circle of pets; techniques to use and avoid during a photographic session.
Part 3: Natural Portraits - controlling natural light using fill-flash and reflectors.
Part 4: Studio Portraits - selecting suitable backgrounds; basic lighting set-ups; importance of eye contact.
Part 5: Action Portraits - photographing animals in motion; shutter speeds; background details.
Part 6: Digital Imaging Editing and Printing - basic image editing; printing your images.
I will also be posting some photographic exercises for you to try yourself.
The art of any form of portrait photography is to capture the character and personality of your subject. So you will need to encourage your pet to relax and behave naturally in front of the camera. Sessions should be kept short, because animals get bored quickly and once that happens you will have to put the camera away until another day. Also, as you cannot ask your pet to say 'cheese', you will have to resort to other ways and means to encourage them to 'smile' for the camera. But, above all, whatever approach you adopt when photographing your pet remember their safety and welfare must always come first.
The aim of this series is to give you, as a pet owner, the inspiration and knowledge to take stunning photographs of your pet, however inexperienced a photographer you are.